🚀 Build, Deploy, and Automate — Learn how to set up CI/CD for a static website hosted on AWS S3 using GitHub Actions.
🧭 Table of Contents
- 🚀 CI/CD Deployment of Static Website to AWS S3 (
web-pipline)- 🧱 1. Project Overview
- ⚙️ 2. Prerequisites
- 🪣 3. Create an S3 Bucket
- 🌐 4. Enable Static Website Hosting
- 🔐 5. Create an IAM User for Deployment
- 🔑 6. Add Secrets to GitHub
- ⚙️ 7. Create GitHub Actions Workflow
- 🔓 8. Configure Bucket Policy for Public Access
- ⚡ 9. Run the Pipeline
- 🌍 (Optional) 10. Add CloudFront for HTTPS & Speed
- 🧠 Summary
🚀 CI/CD Deployment of Static Website to AWS S3 (web-pipline)
This guide explains how to automatically build and deploy your Astro (or any NPM static) website to AWS S3 using GitHub Actions.
Your site will deploy to the S3 bucket: web-pipline in region ap-south-1 (Mumbai).
🧱 1. Project Overview
Goal:
Whenever you push code → GitHub Actions automatically:
- Builds your Astro/NPM website
- Deploys the output folder (
dist) to AWS S3 - Makes your website live via Static Website Hosting
Architecture:
GitHub Repo (main branch)
↓
GitHub Actions (CI/CD)
↓
AWS S3 Bucket
↓
Public Website URL
⚙️ 2. Prerequisites
- ✅ AWS account (Free Tier)
- ✅ Public GitHub repository
- ✅ Your static site builds into
/dist(Astro, React, etc.)
🪣 3. Create an S3 Bucket
- Go to AWS Console → S3 → Create bucket
- Bucket name:
web-pipline - Region:
ap-south-1 - Uncheck: “Block all public access”
- ✅ Acknowledge the warning checkbox
- Click Create bucket
🌐 4. Enable Static Website Hosting
- Click on your bucket → Properties tab
- Scroll down to Static website hosting
- Click Edit
- Choose Enable
- Hosting type: Host a static website
- Index document:
index.html - Error document:
index.html
- Click Save changes
- Note down your Website endpoint, for example:
[http://web-pipline.s3-website-ap-south-1.amazonaws.com](http://web-pipline.s3-website-ap-south-1.amazonaws.com)
🔐 5. Create an IAM User for Deployment
- Go to IAM → Users → Add user
- Name it
github-deployer - Choose Programmatic access
- Click Next → Attach policies directly
- Click Create policy
-
Choose JSON and paste this (minimal permissions):
{ "Version": "2012-10-17", "Statement": [ { "Effect": "Allow", "Action": [ "s3:PutObject", "s3:DeleteObject", "s3:ListBucket" ], "Resource": [ "arn:aws:s3:::web-pipline", "arn:aws:s3:::web-pipline/*" ] } ] } -
Click Next → Name it:
S3DeployPolicy→ Create policy
- Back in user creation, attach this policy
- Finish user creation and copy:
- Access key ID
- Secret access key
🔑 6. Add Secrets to GitHub
In your GitHub repo →
Settings → Secrets → Actions → New repository secret
Add these four:
| Secret Name | Value |
|---|---|
AWS_ACCESS_KEY_ID | your key ID |
AWS_SECRET_ACCESS_KEY | your secret key |
AWS_REGION | ap-south-1 |
S3_BUCKET | web-pipline |
⚙️ 7. Create GitHub Actions Workflow
In your repo root, make the folder and file:
.github/workflows/deploy.ymlPaste this:
name: Deploy Astro Site to AWS S3

on:
  push:
    branches:
      - main

jobs:
  deploy:
    runs-on: ubuntu-latest

    steps:
      - name: Checkout repository
        uses: actions/checkout@v4

      - name: Setup Node.js
        uses: actions/setup-node@v4
        with:
          node-version: 18

      - name: Install dependencies
        run: npm ci

      - name: Build Astro project
        run: npm run build

      - name: Sync files to S3
        uses: jakejarvis/s3-sync-action@master
        with:
          args: --delete
        env:
          AWS_S3_BUCKET: ${{ secrets.S3_BUCKET }}
          AWS_ACCESS_KEY_ID: ${{ secrets.AWS_ACCESS_KEY_ID }}
          AWS_SECRET_ACCESS_KEY: ${{ secrets.AWS_SECRET_ACCESS_KEY }}
          AWS_REGION: ${{ secrets.AWS_REGION }}
          SOURCE_DIR: "dist"
Commit and push this file.
🔓 8. Configure Bucket Policy for Public Access
In AWS S3 → Permissions tab → Bucket policy → Edit
Paste this exact JSON (for your bucket):
{
  "Version": "2012-10-17",
  "Statement": [
    {
      "Sid": "PublicReadGetObject",
      "Effect": "Allow",
      "Principal": "*",
      "Action": "s3:GetObject",
      "Resource": "arn:aws:s3:::web-pipline/*"
    }
  ]
}
Then click Save changes ✅
Also confirm in the same tab:
- “Block all public access” → Turned OFF
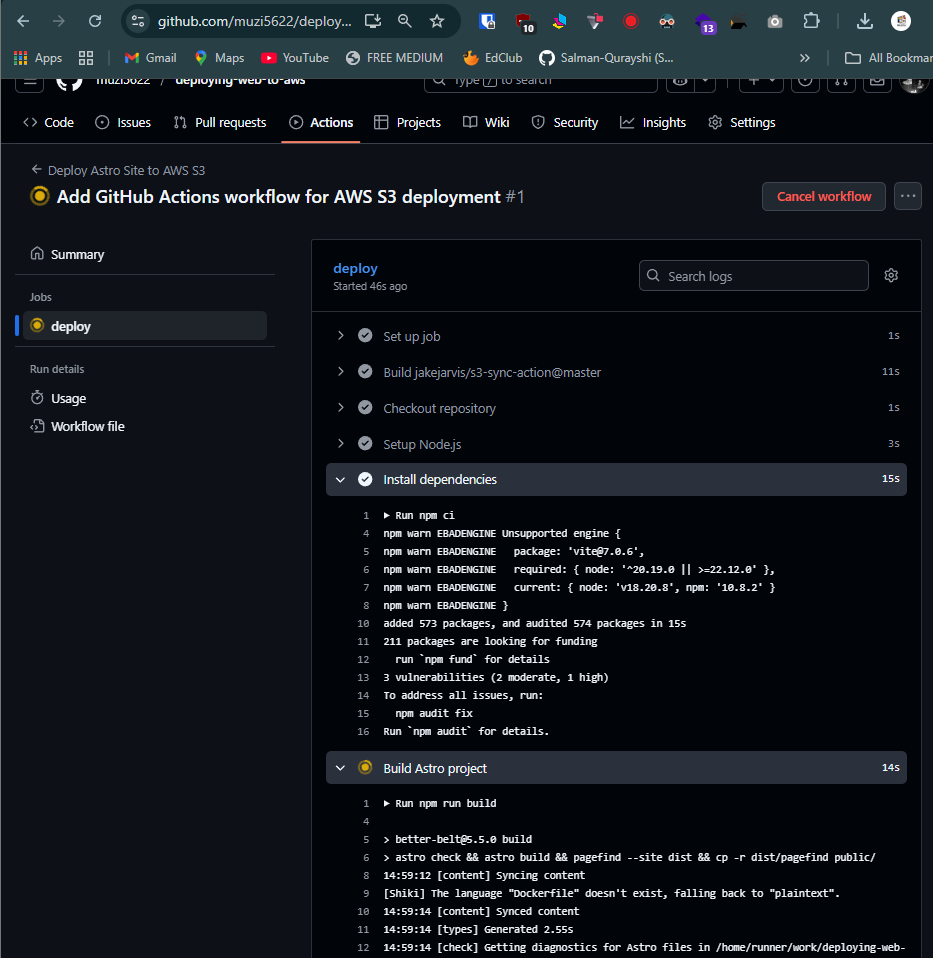
⚡ 9. Run the Pipeline
-
Push your latest code to the
mainbranch -
Go to GitHub → Actions tab
-
Wait for the workflow to run
- It will: install → build → upload → sync with S3
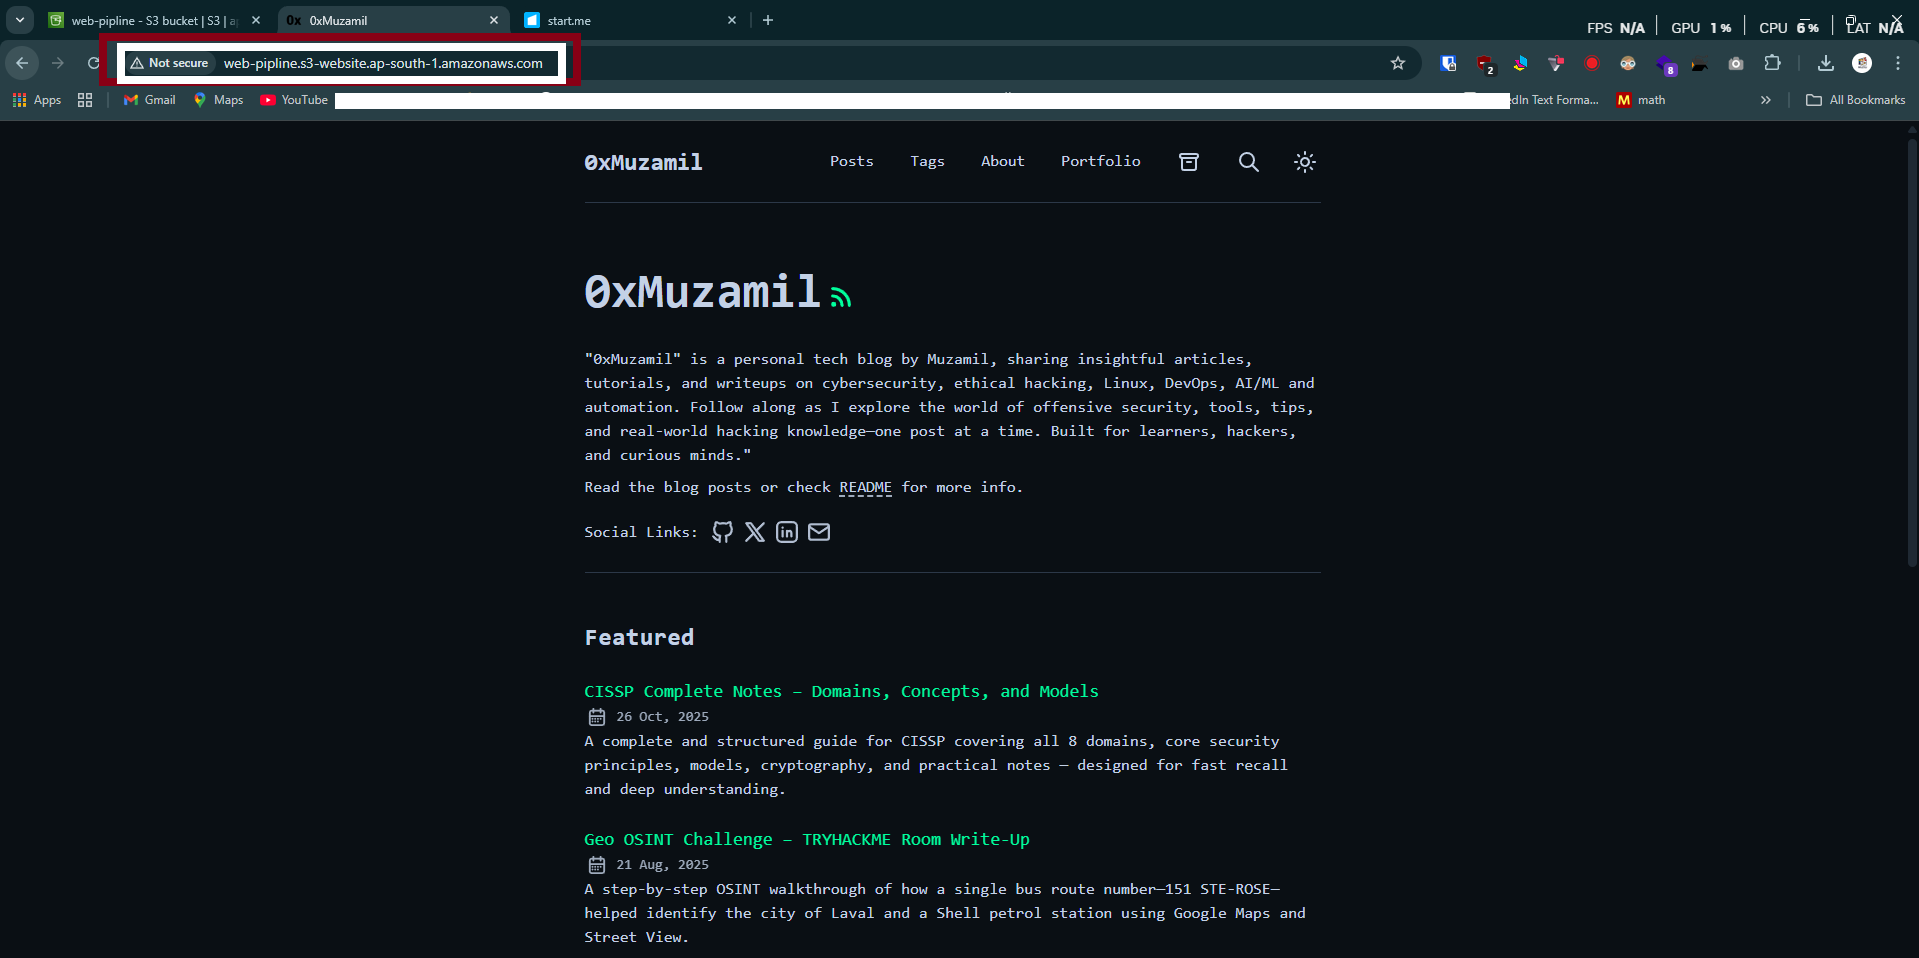
When it finishes:
-
Open:
http://web-pipline.s3-website-ap-south-1.amazonaws.comYour site is now LIVE 🎉
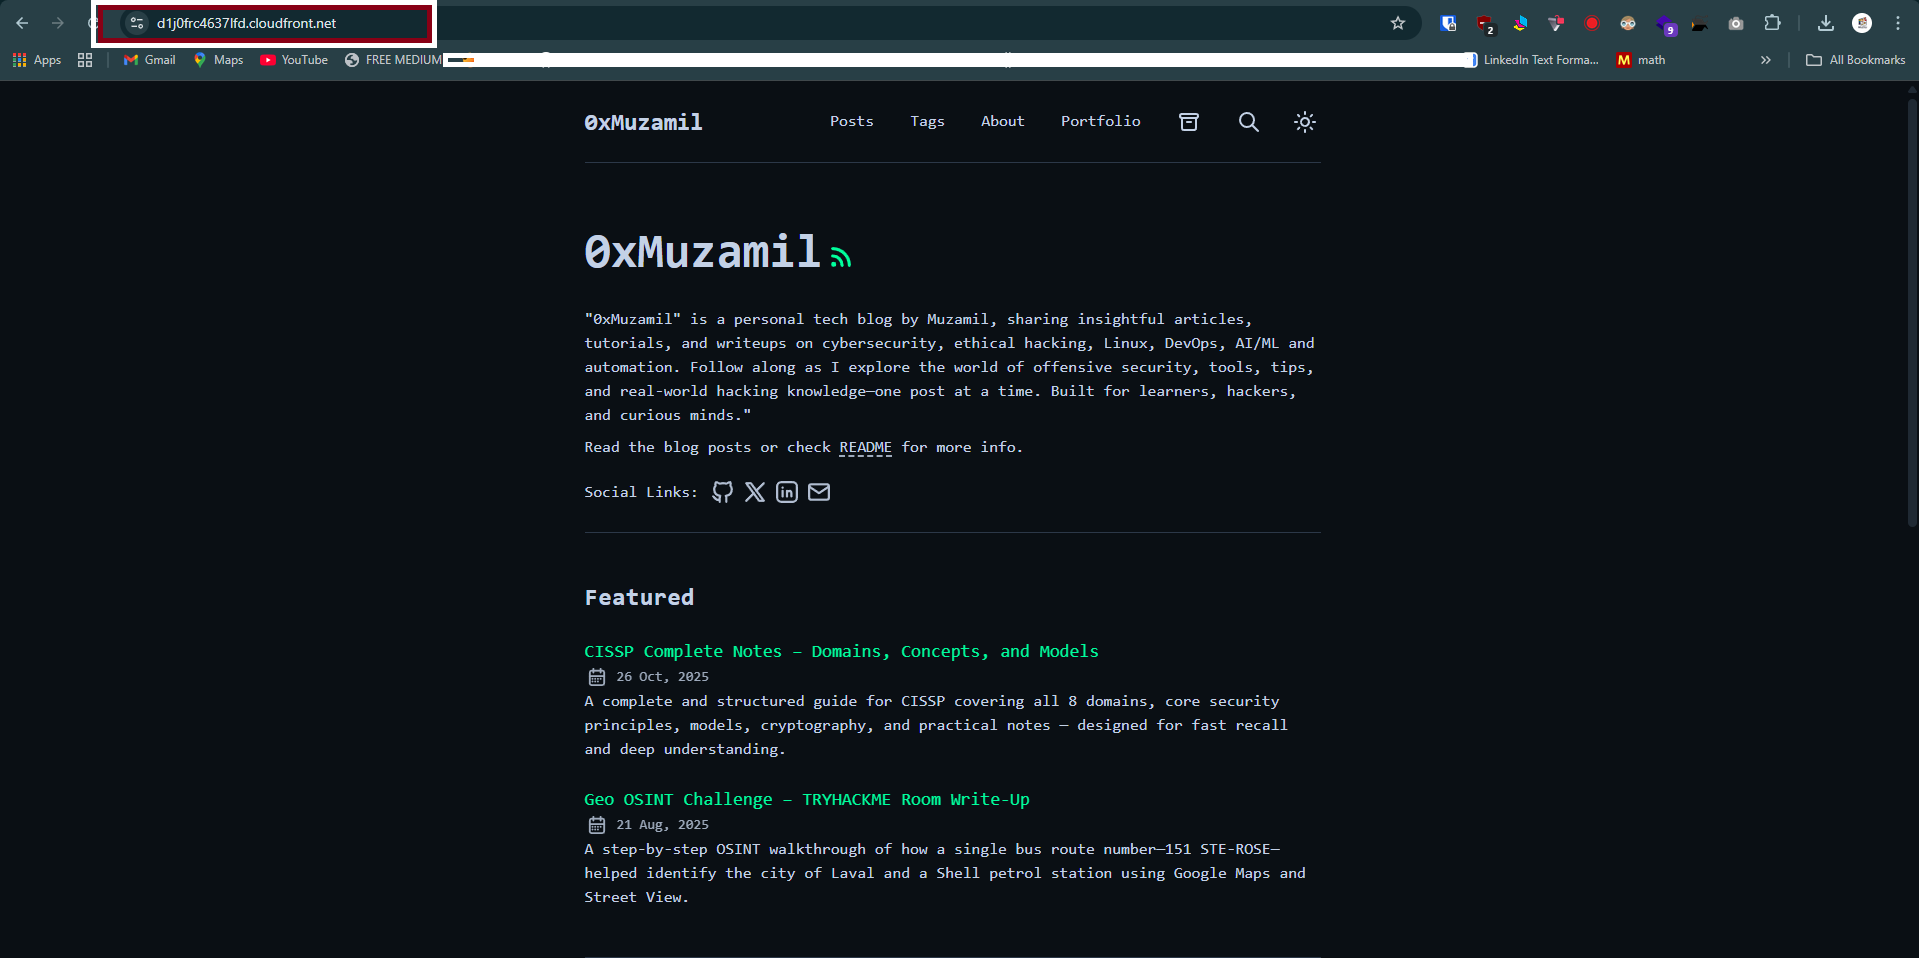
🌍 (Optional) 10. Add CloudFront for HTTPS & Speed
Later you can:
- Go to CloudFront → Create Distribution
- Origin = your S3 bucket
- Add a custom domain + SSL certificate via ACM
Then you’ll get a secure global URL like:
https://dxxxxxxxx.cloudfront.net🧠 Summary
| Step | Action |
|---|---|
| 1 | Create S3 bucket (web-pipline) |
| 2 | Enable static hosting |
| 3 | Create IAM deploy user |
| 4 | Add GitHub secrets |
| 5 | Add GitHub Actions workflow |
| 6 | Add public bucket policy |
| 7 | Push → auto build + deploy |
| 8 | Visit website endpoint URL |
✅ Final Website URL:
http://web-pipline.s3-website-ap-south-1.amazonaws.com